
Pop bottle wormery
Equipment
You will need
1. Clean, empty, clear, plastic 2 litre pop/water bottle with the label removed (don't worry about removing every little bit of glue and label from the outside of the bottle, you just want to be able to see into the wormery when it's done. Cover any sticky bits up with some sticky tape to prevent the sleeve from sticking to the bottle later on)
2. Scissors
3.Fine play sand
4. Soil
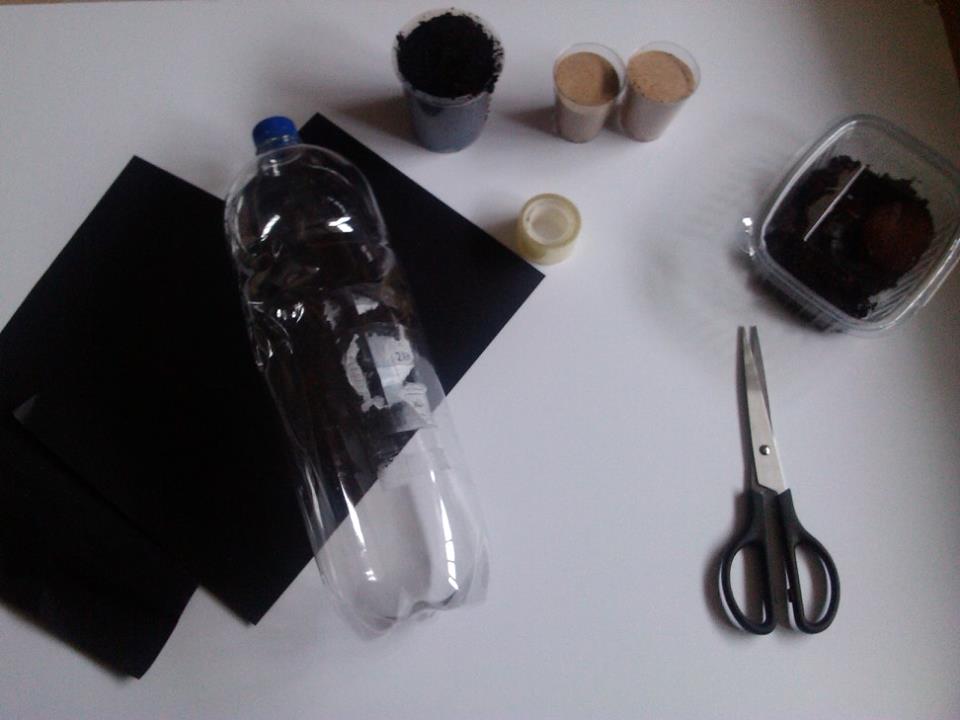
5. Plastic cups or scoops for tipping soil and sand into the bottle.
6. Foil, card or thick paper and sticky tape
7. Something to feed the worms, e.g. leaf litter; fruit or vegetable peelings; used, cold, teabags.
8. Colouring materials, label, duct tape (optional)
9. Worms (about 5 earthworms) (If you are digging for your worms, you will also need a plastic pot with a lid (this is for putting the worms into) and something to dig with, (such as a spade or trowel)
Method
Before beginning you should make sure that any open cuts or sores on your hands are covered so that germs from the soil don't enter the wounds. Wear gloves if necessary and always wash your hands when you have finished making the wormery.
1. Collect your worms (or you can buy some)
2. Gather together the rest of your equipment.
3. Cut the top of the pop bottle off, using the scissors. Make sure to leave the lid on the bottle, this makes the first incision easier. Make the cut as the bottle neck dips in, if possible. Save the top part of the bottle to make a lid for your wormery. Trim it up, so that the bottom of the neck is wider than the top of the bottle. If you like, you can use the duct tape to cover the sharp edges of the bottle and neck at this stage. However, this may prevent the neck sitting, easily, on top of the bottle later on.

4. Layer the soil and sand in striped layers inside the bottle.
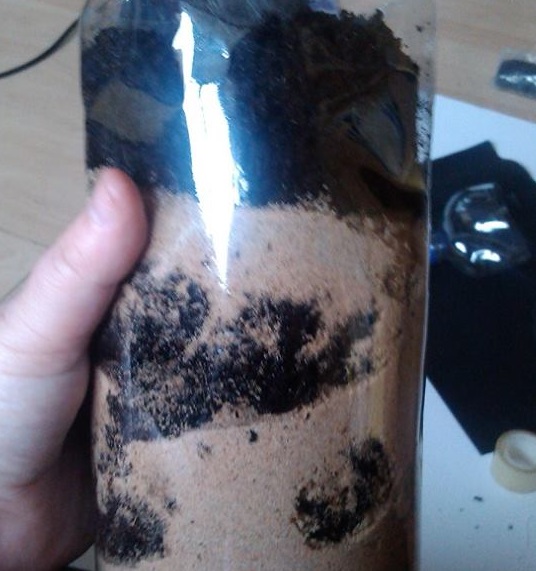 5. If the soil and sand is dry, moisten it slightly by adding a very
small amount of water.
5. If the soil and sand is dry, moisten it slightly by adding a very
small amount of water.
6. Add the leaf litter
7. Add worms.
8. Replace the neck of the bottle. Remove the screwcap lid. Replace the screwcap lid using three light turns. This ensures that the lid isn't too tight and allows some air movement in the bottle. Use sticky tape to cover the join. Be careful when you move your wormery. To prevent spillage of the entire contents, make sure that you ONLY LIFT IT FROM THE BOTTOM!
9. Make a sleeve for your wormery, using the foil or card or thick paper. The sleeve needs to wrap around the bottle so that the worms are in the dark. You need to be able to remove it easily when you want to observe your worms. If you are using thick paper or card, you might want to decorate the sleeve. If you are making multiple wormeries, for example, in a classroom, you may want to label the sleeve. Once you have finished any decoration, wrap the sleeving material around the pop bottle to make a loose sleeve and secure the ends with sticky tape.
10. Keep the worms and observe them for as long as you wish, you must keep feeding them. You could try them with different foods. You can feed them coffee grounds, ground up egg shells, ground up cereals and a whole different variety of compostable materials. Keep the wormery away from direct sunlight and make sure the soil and compost doesn't completely dry out. You can add new foods through the neck of the bottle. Always remember to only replace the screwtop lid lightly (maximum of three turns).
When you lift the sleeve, you should be able to see the tunnels that the worms have made. You will notice the food disappearing from the surface of the wormery. Remember to support the bottle at the base, when you lift the sleeve. Once you have finished observing the worms, you can simply tip the whole contents of your wormery into a compost bin or return them to the soil where you found them or place them into loose soil in your garden. Don't forget to rinse the bottle and recycle it too.